by Wally Monk originally published 20 December 2024
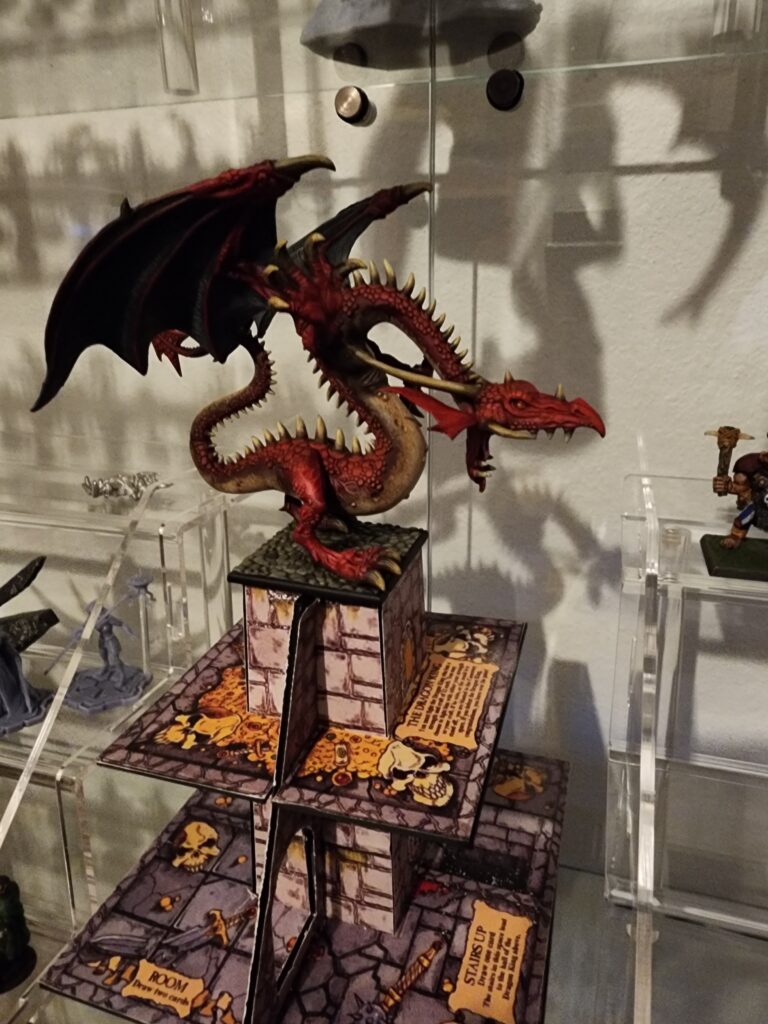
The Dragon’s Tower is the most difficult expansion to acquire for the 3rd Edition of Talisman. But that doesn’t mean you can’t make one at home. While it’s nowhere near as simple to build as the original designer of the STL files claims, with a little work it’s a beautiful – and far more sturdy – replacement for the original.
So how do you make one, you ask? I highly recommend reading this whole article before you make your tower, as there are some warnings to be found before you begin adding the labels and starting the final build!
Download and print the STL files and Labels
Everything you need to make your tower can be found readily online. First, go to Thingiverse and download the files from user andrewduhan at this link: https://www.thingiverse.com/thing:3846832.
Next, you can find high-quality image files of the tower pieces at BoardGameGeek using this link: https://boardgamegeek.com/boardgame/3732/talisman-third-edition-dragons-tower.
You can easily find 3D printing services online. I’ve utilized MK Crafts Etsy store out of New York, NY, several times, but they appear to be no longer in business. There are plenty of other services available using Google, or perhaps even one of your local gamers owns a 3D printer.
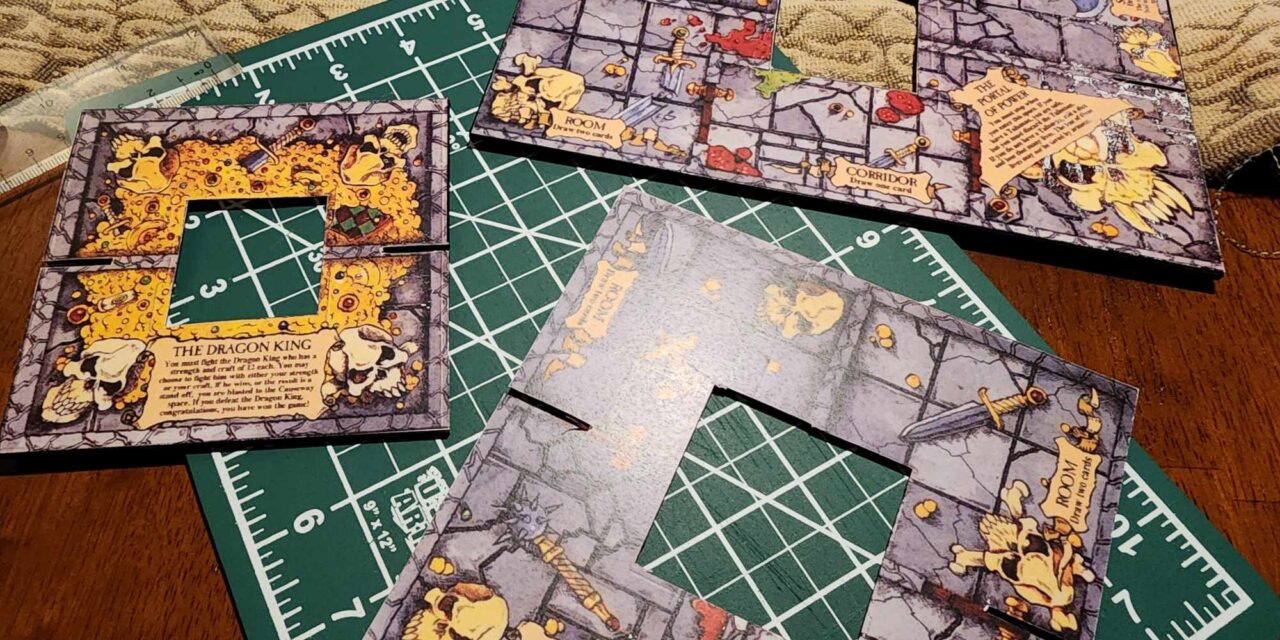
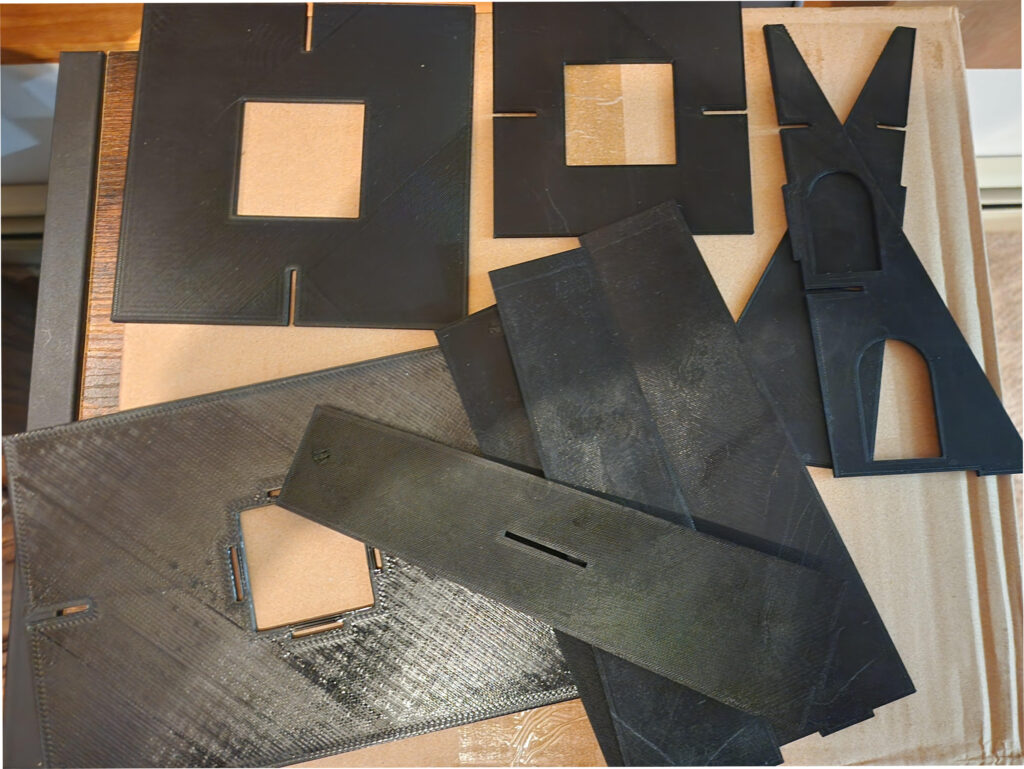
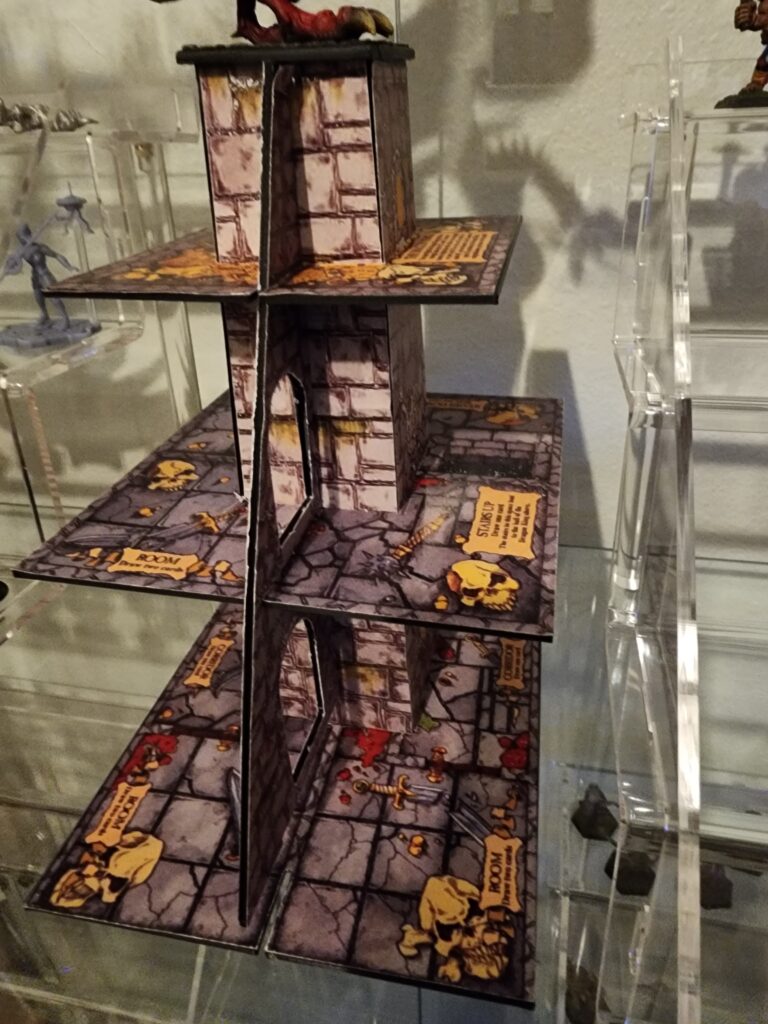
Once printed, the Tower board pieces should look like this. I had them printed in black, but I’d imagine they look even better in grey resin.
Printing the different pieces of artwork for the tower can be a little trickier. They were not scanned in the same dimensions as the tower pieces, so you’ll need to fiddle with print sizes in the print manager on your computer. For example, the baseboard image, if I recall, had to be printed at 127% to match the actual size of the 3D-printed tower base piece. I printed all of the “test” labels on regular legal-sized paper.
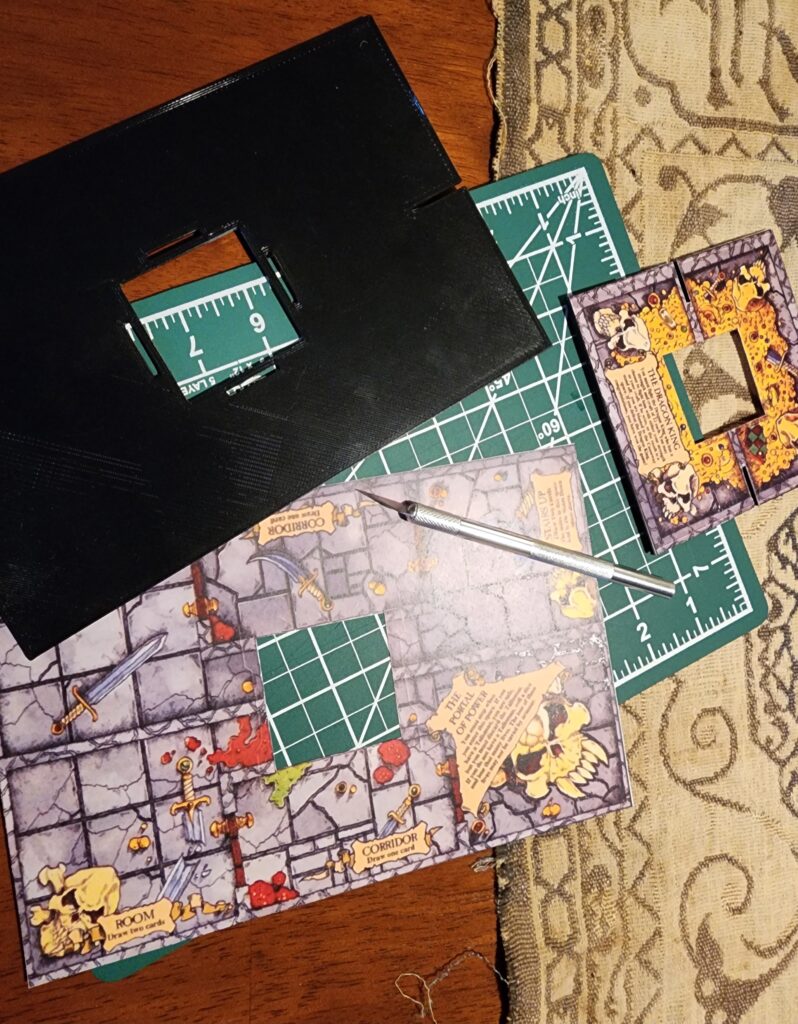
Once you get the proper size for each image, I used a razor knife to trim the labels, ensuring they were a good fit. You can find complete legal-sized label sheets for your printing from the Label Fitters Amazon store here: https://www.amazon.com/Label-Outfitters-Inkjet-Printable-Labels/dp/B0026HPXQG,
WARNING: Don’t Forget to Pre-Fit the Tower Together
Another problem with the final 3D prints is that none of the “notches” designed to hold the tower together fit or could be installed perfectly. You’ll need to trim down the connecting pieces to make sure they fit properly into one another. For example, the triangular sides had notches that were too long to fit into the slots on the side of the tower pieces – I needed to use the razor knife to trim them down to ensure a proper fit. I’d recommend “pre-building” the tower without glue to ensure everything fits together well.
Frankly, this was the worst part of the build and took the most time.
But as you can see, once properly fitted to the boards, the labels look quite good!
Putting the Tower Together
I began by putting the center tower piece together. It comes with four separately printed sides, so make sure when you assemble it, the two pieces with the “slots” are opposite each other. That’ll be where you insert the triangular tower supports.
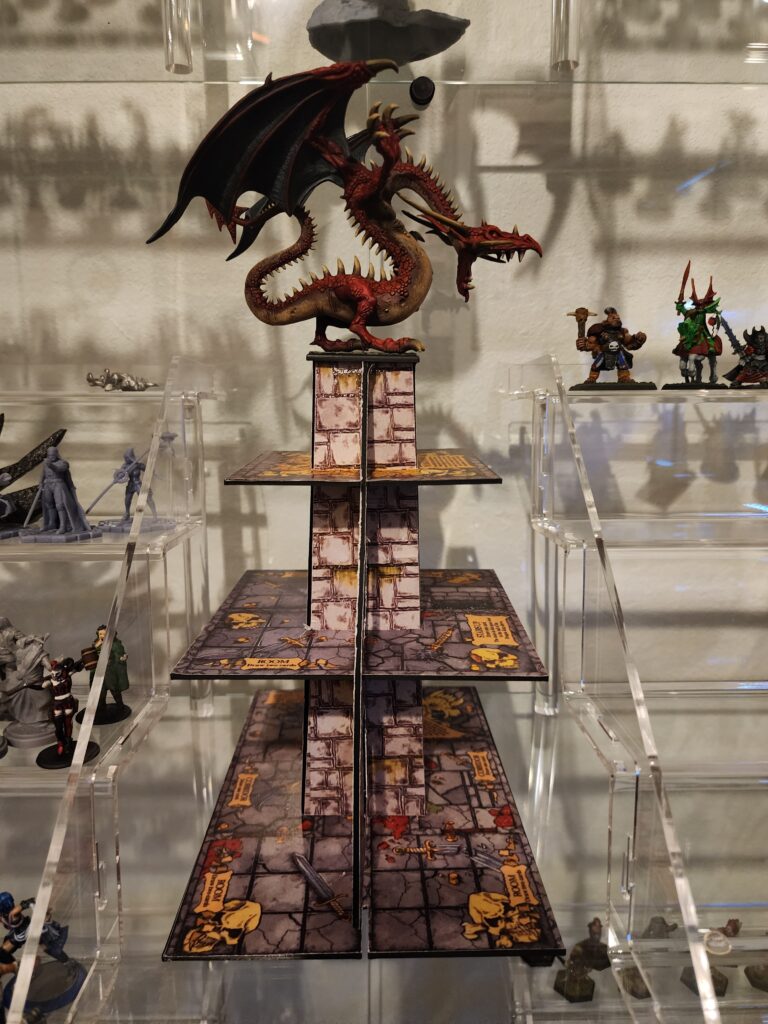
Once glued, I used rubber bands to hold the center tower together, and let it sit overnight for the glue to dry well. It was very solid by morning, much more so than the original “cardboard” tower that came with the game. I even put a second layer of glue on the inside at the bottom of the tower on all four edges to ensure extra stability.
Again, just a reminder- as you’re building the tower, make sure you’ve ensured that everything fits initially – otherwise, you’ll make the same mistake I did and parts of your label will “rub off” (even with a high-quality laser printer) as you try to mash and squish everything together.
If you do these things, the end result will be a tower truly fit for a Dragon King!
Is this something you’ll try to build? Have you built your own Dragon’s Tower already? Please share your thoughts and your own Dragon Towers here or on the Talismanaeum Facebook page!
As always, I am –
Wally (AKA The Paint Monk)