 |
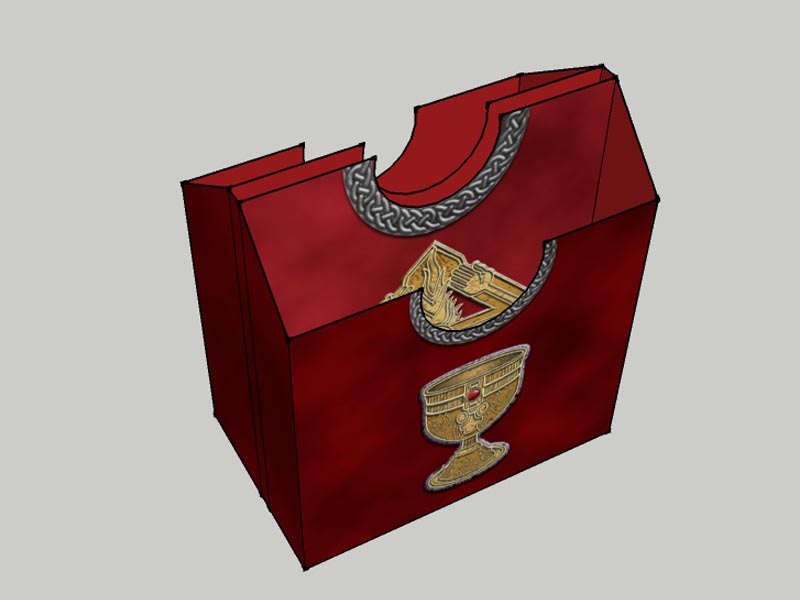
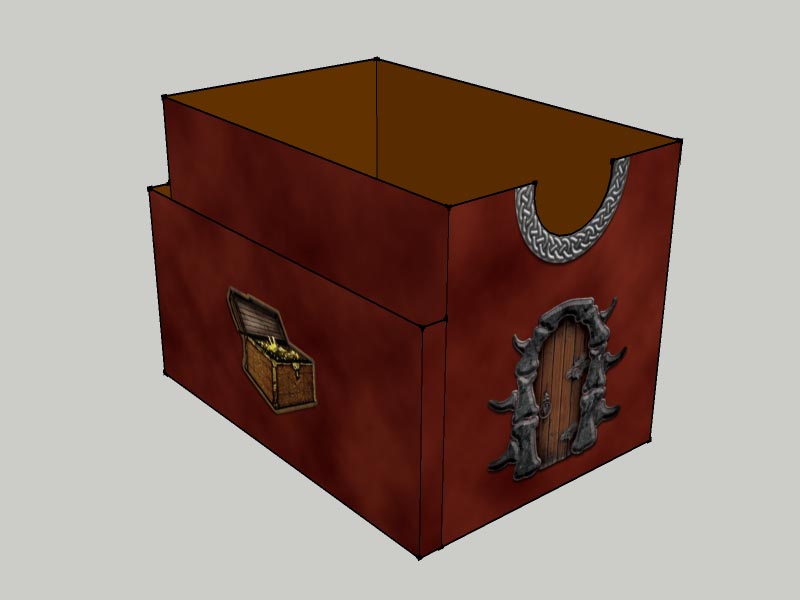
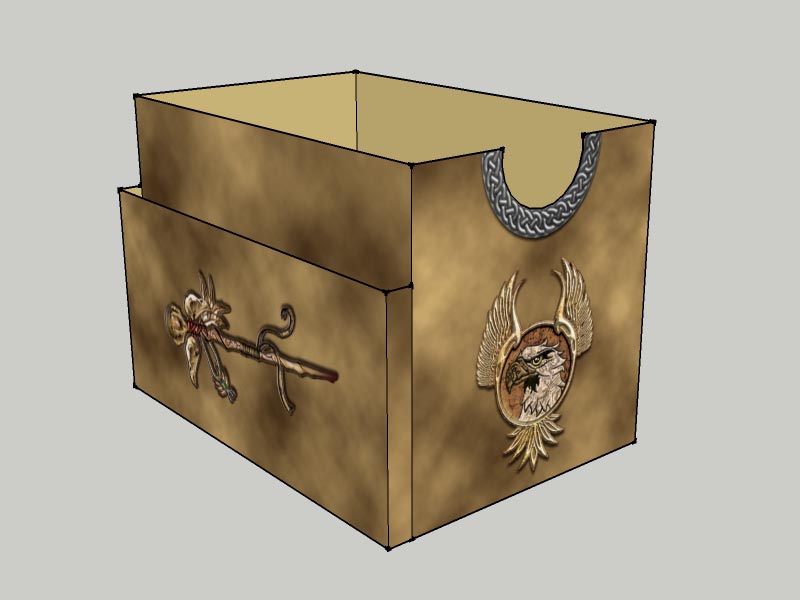
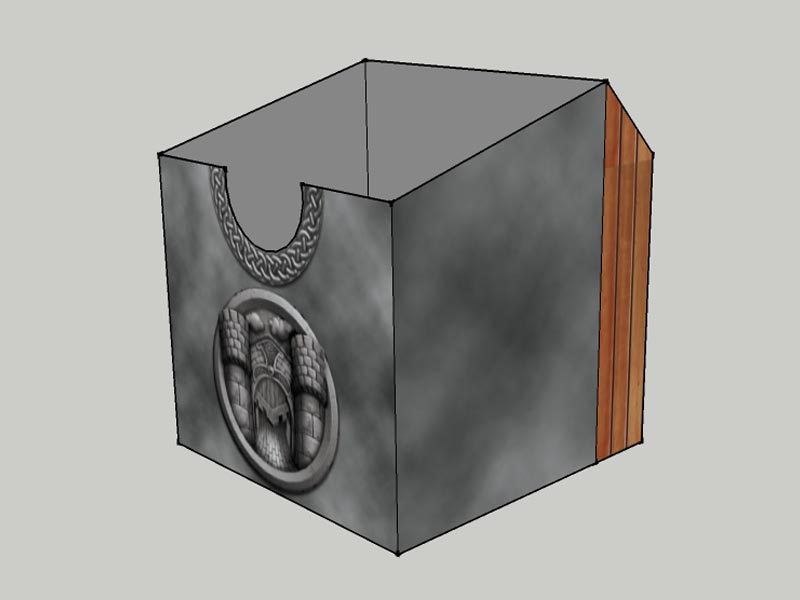
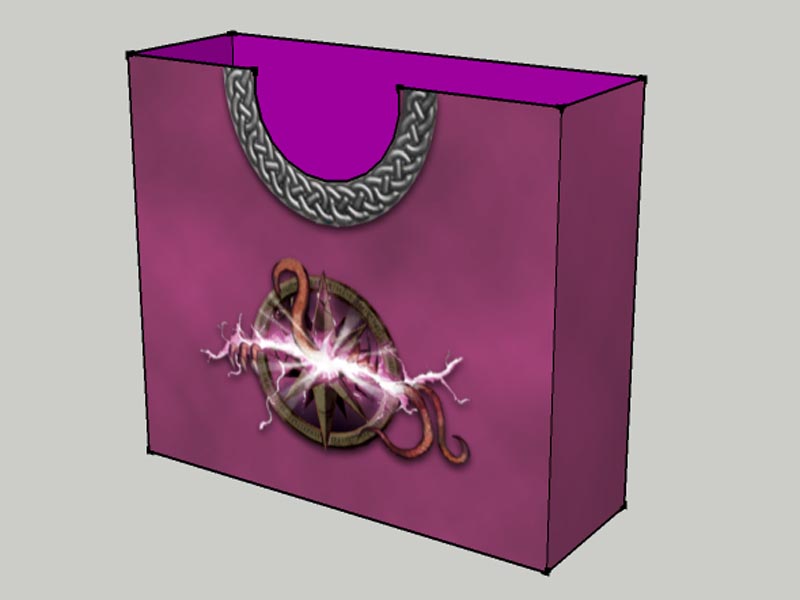
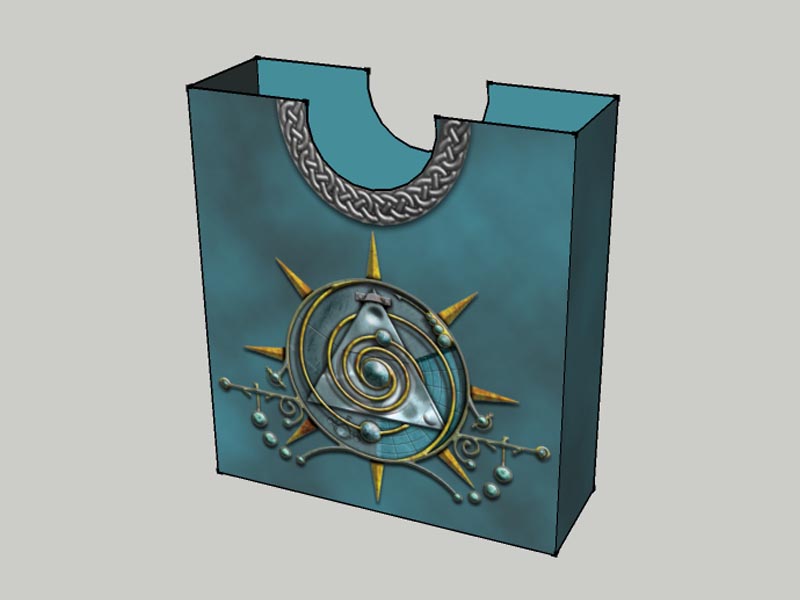
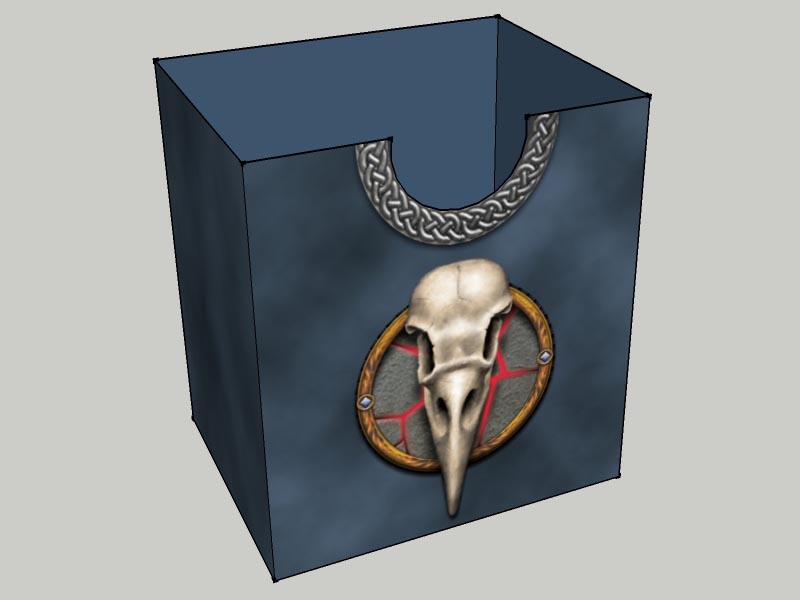
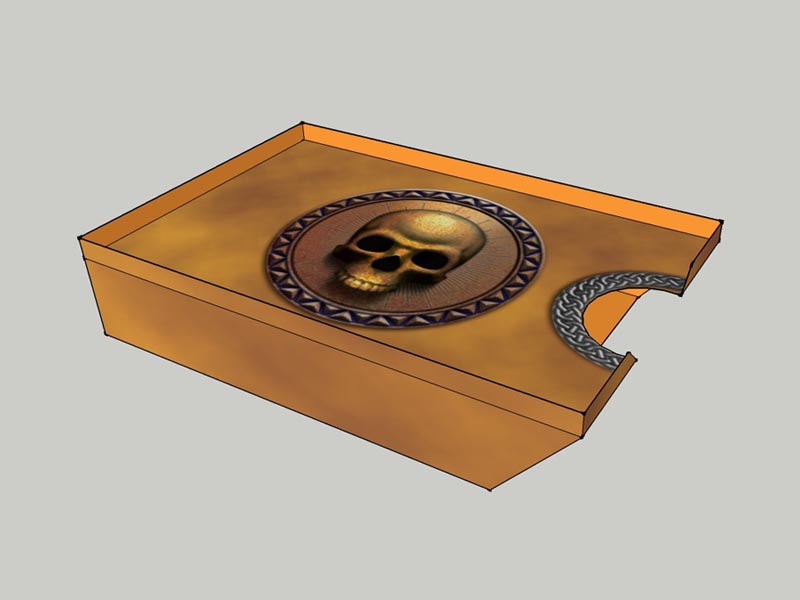
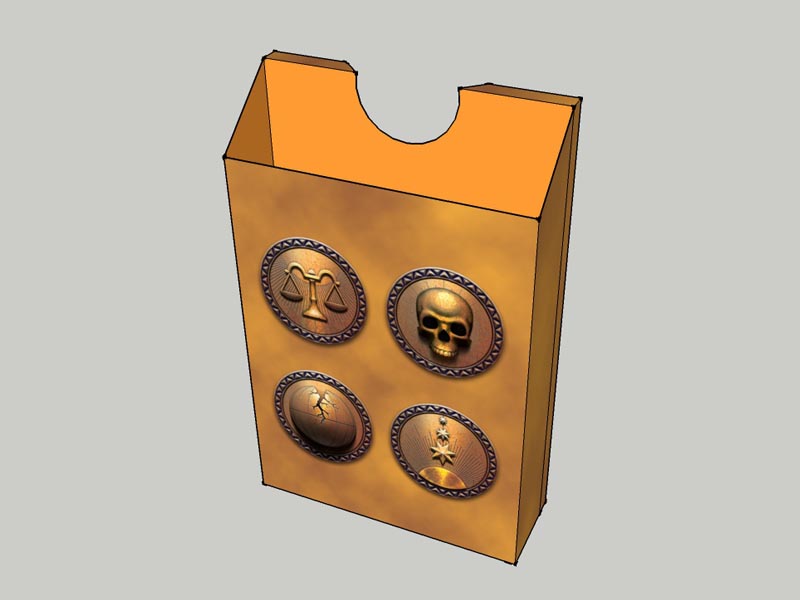
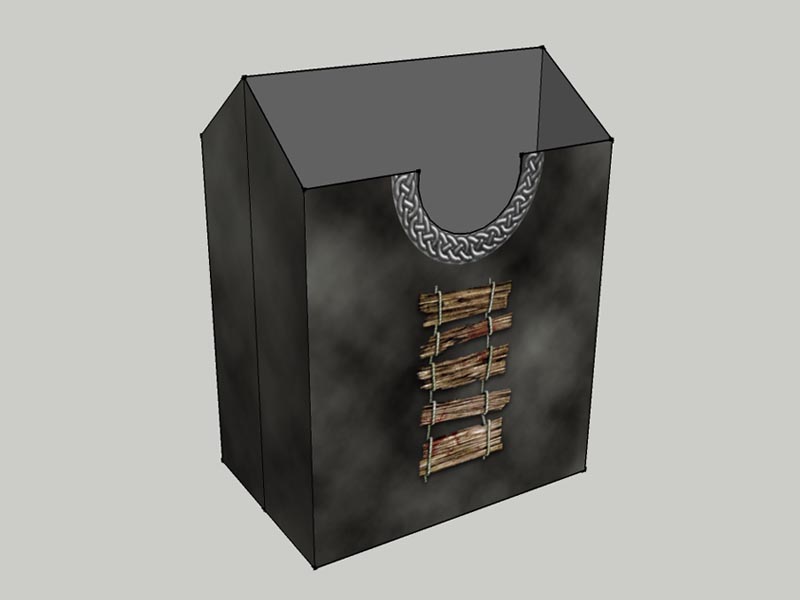
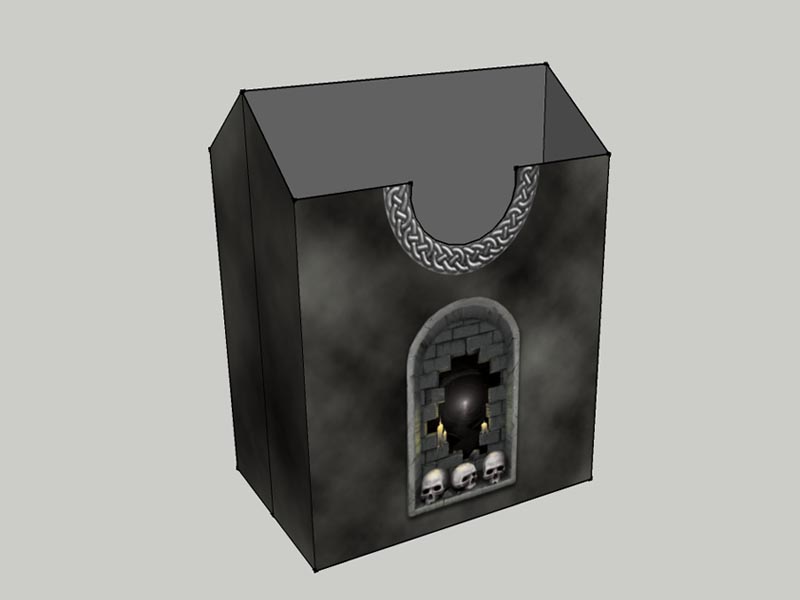
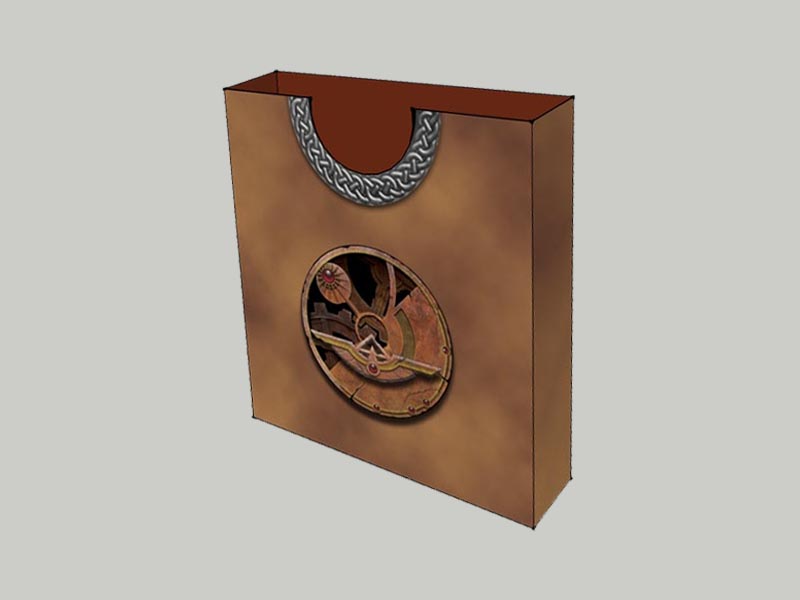
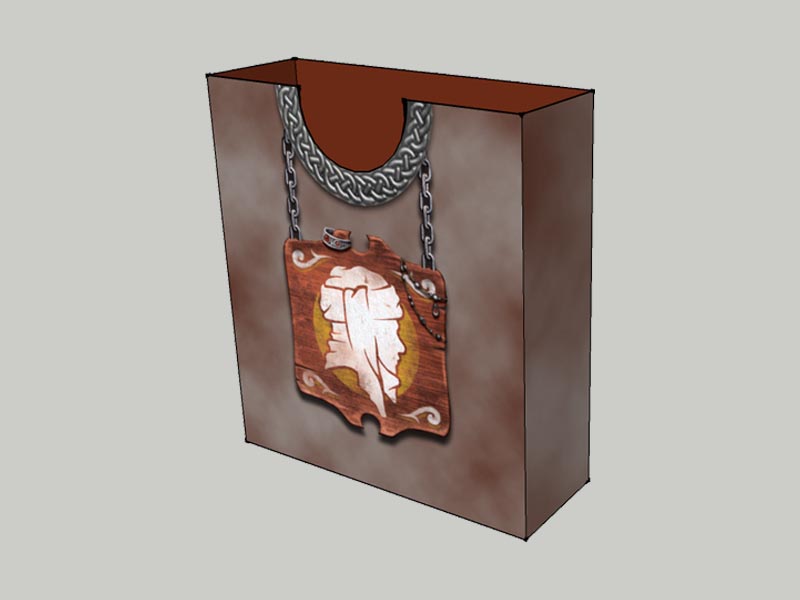
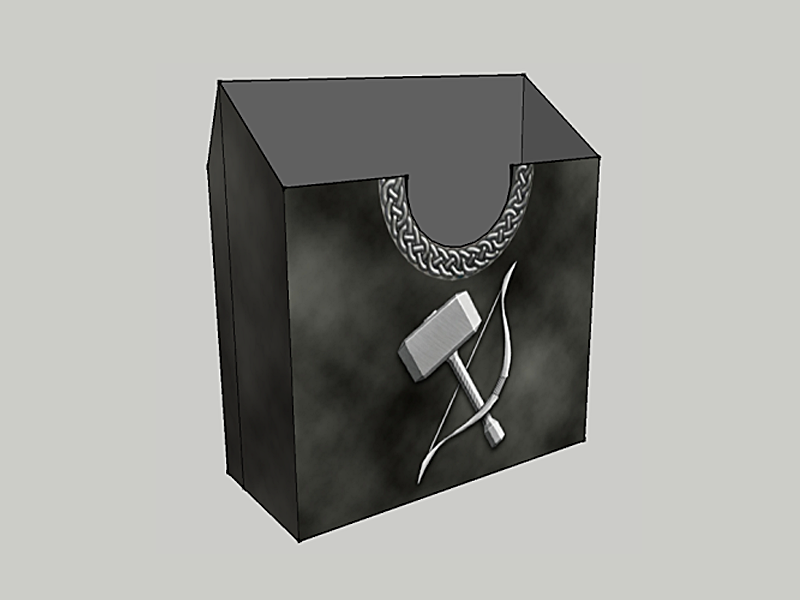
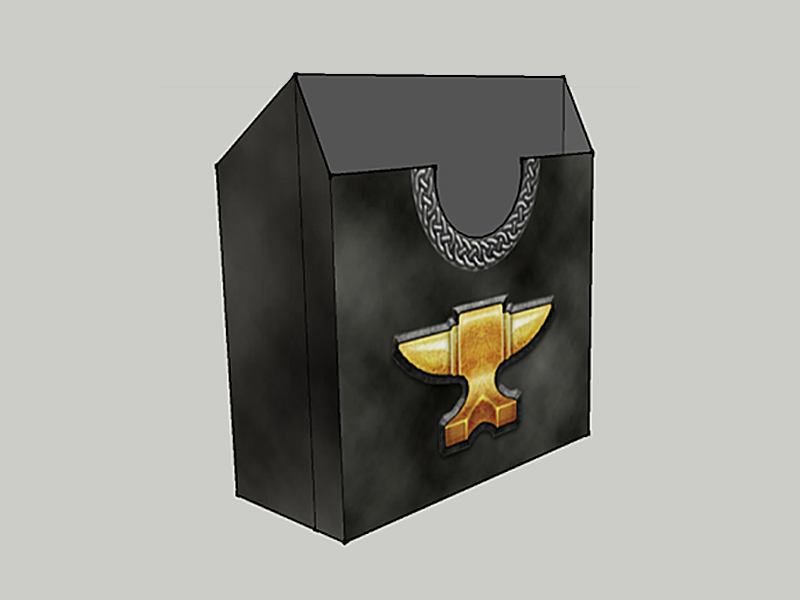
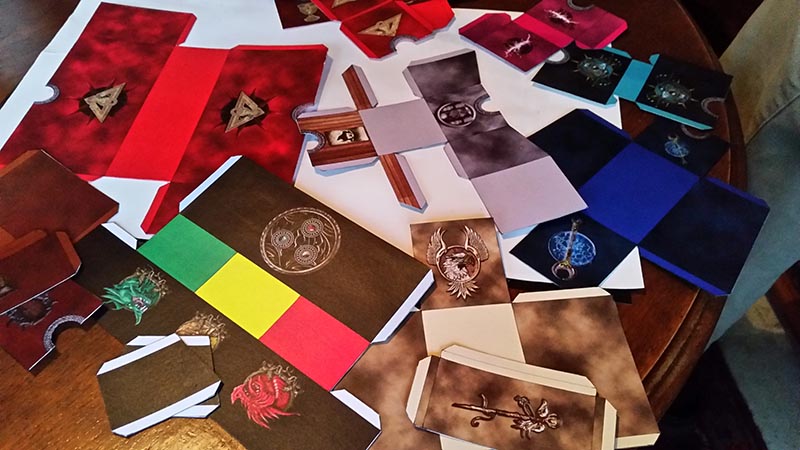
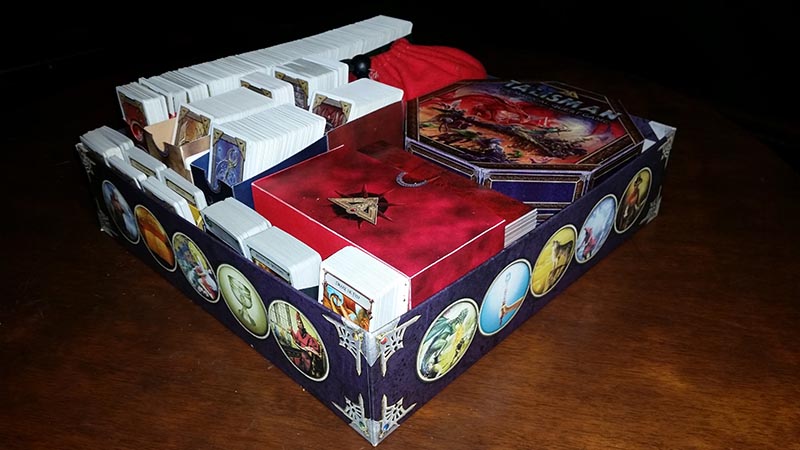
Talisman fan Denis Verheylewegen (Deniax on the Fantasy Flight Games forums) has been busy creating some storage boxes for his game, using free 3D creation software called SketchUp.
He has come up with some really clever ideas on how to cope with the smaller decks in the game, like Relics, by adding a small pocket to the larger region decks.
You can see some 3D renders of his finished creations below, and further down the page there are guides on how to print and assemble the boxes.
 |
 |
||
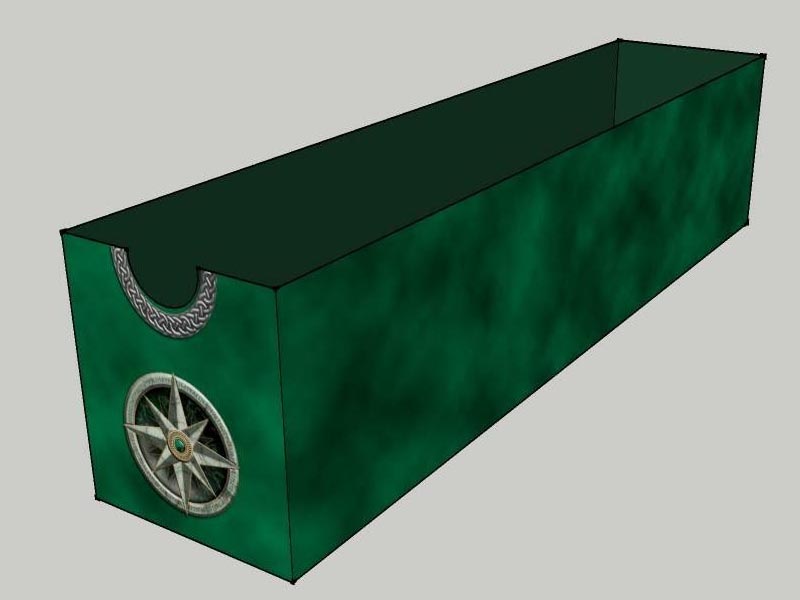
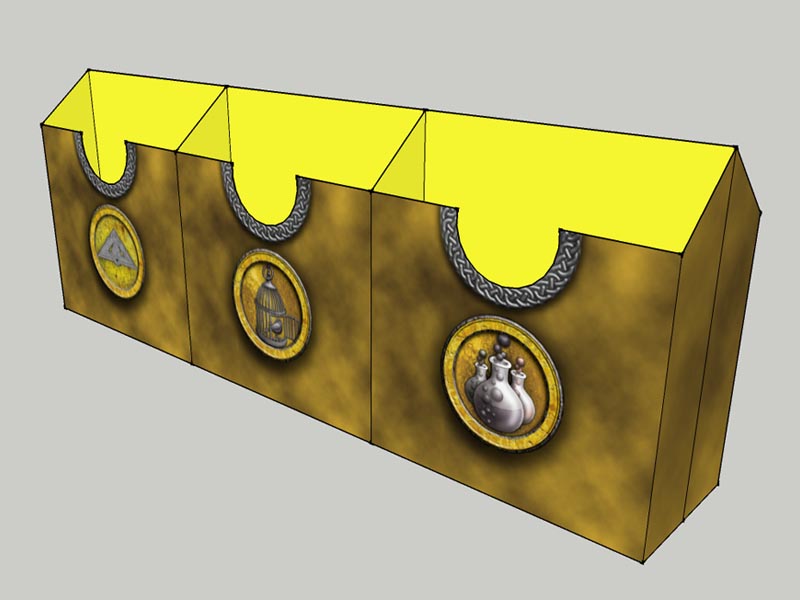
| Adventure Cards | Spell Cards | ||
 |
 |
||
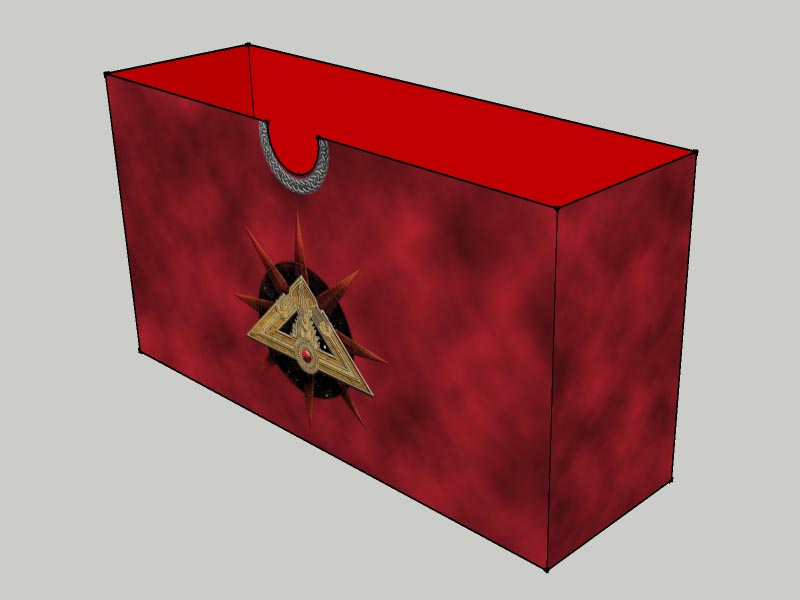
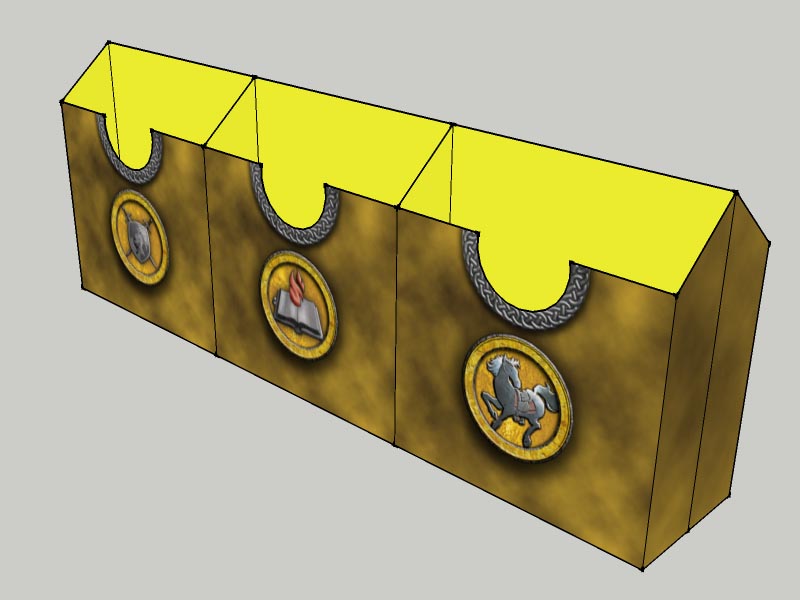
| Character Cards | Ending Cards | ||
 |
 |
||
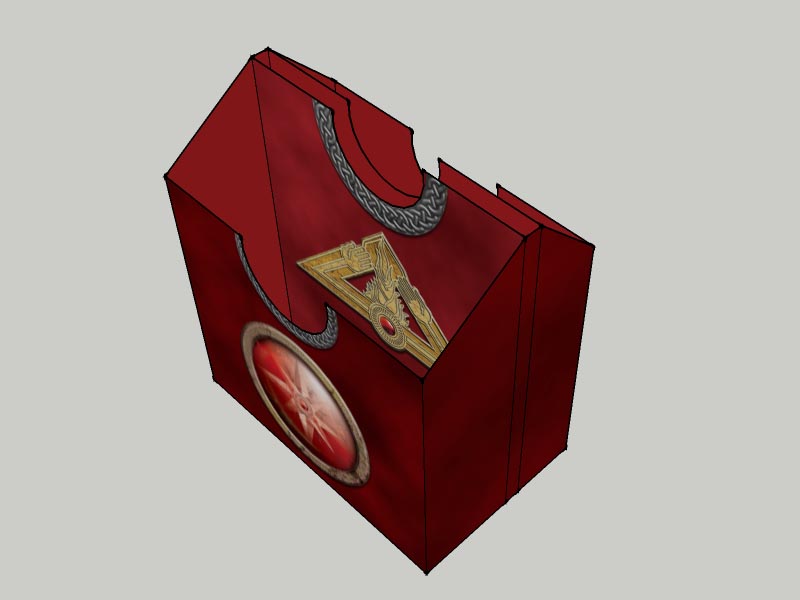
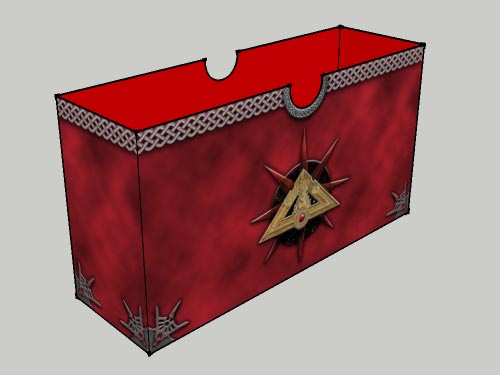
| Warlock Quests, Talisman Cards & Quest Rewards | |||
 |
 |
||
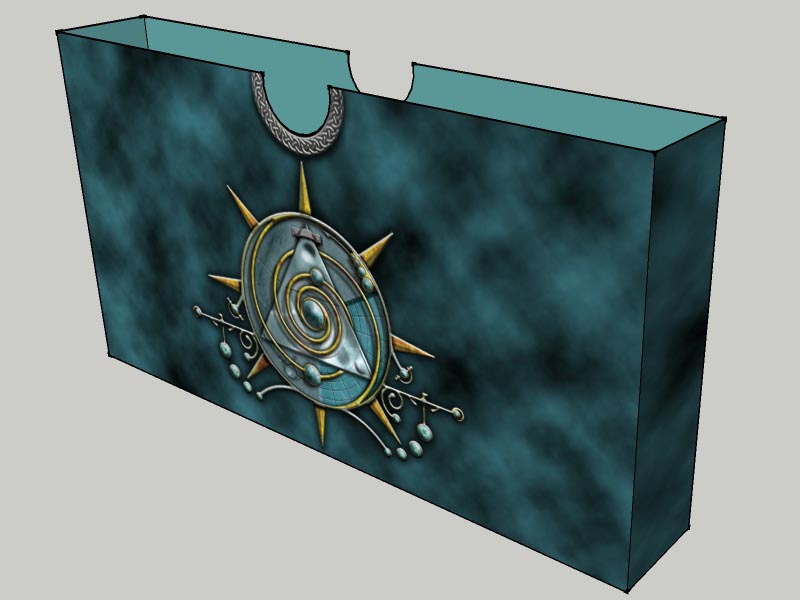
| Dungeon & Treasure Cards | Highland & Relic Cards | ||
 |
 |
||
| City Cards & Wanted Posters | |||
 |
 |
||
| Purchase, Pet, Potion, Armoury, Magic Emporium & Stables Cards | |||
 |
 |
||
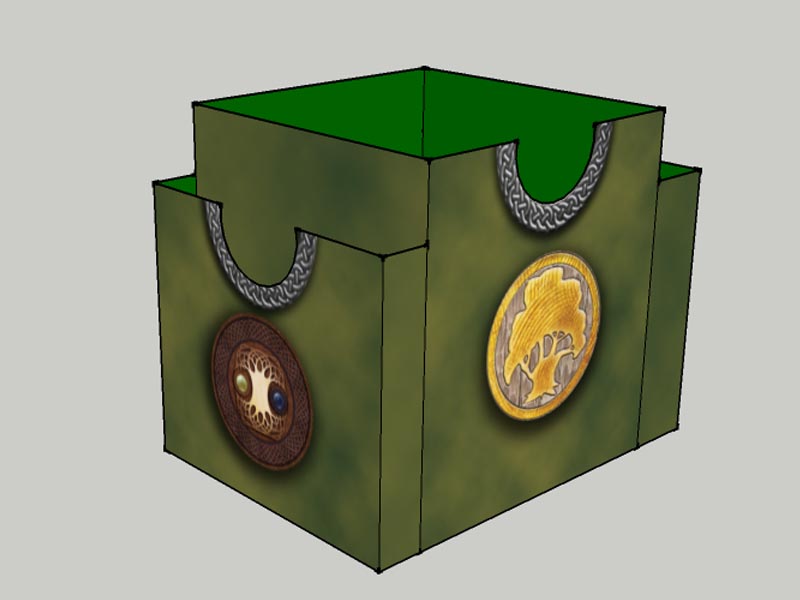
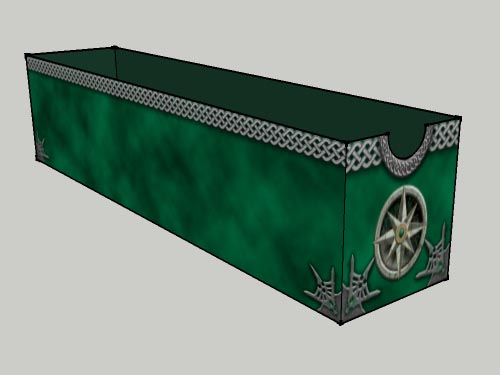
| Destiny, Woodland & Path Cards | |||
 |
 |
||
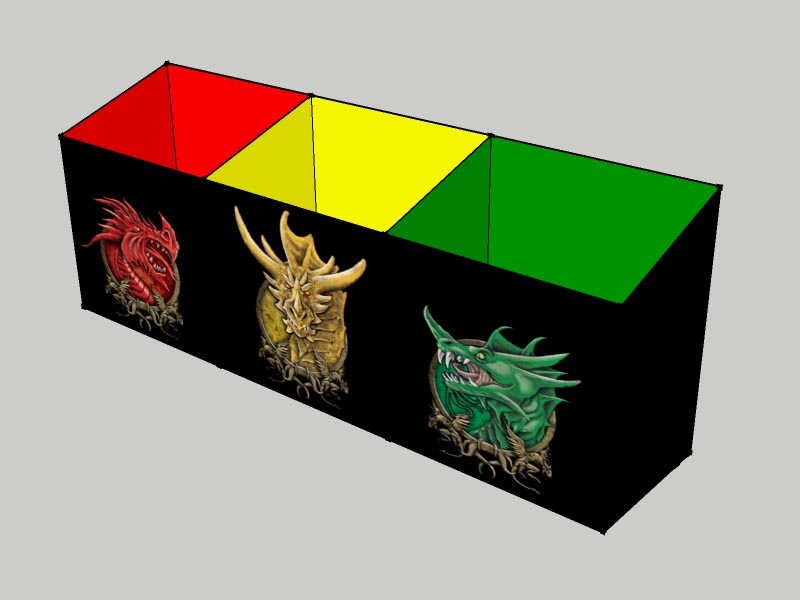
| Dragon Cards | Nether Cards | ||
 |
 |
||
| Token Box | Sundry Cards | ||
 |
 |
||
| Terrain Cards | Harbinger Cards | ||
 |
 |
||
| Omen Cards | |||
 |
 |
||
| Bridge & Tunnel Cards | |||
 |
 |
||
| Remnant Cards | Denizen Cards | ||
 |
 |
||
| Border & Forge Cards | |||
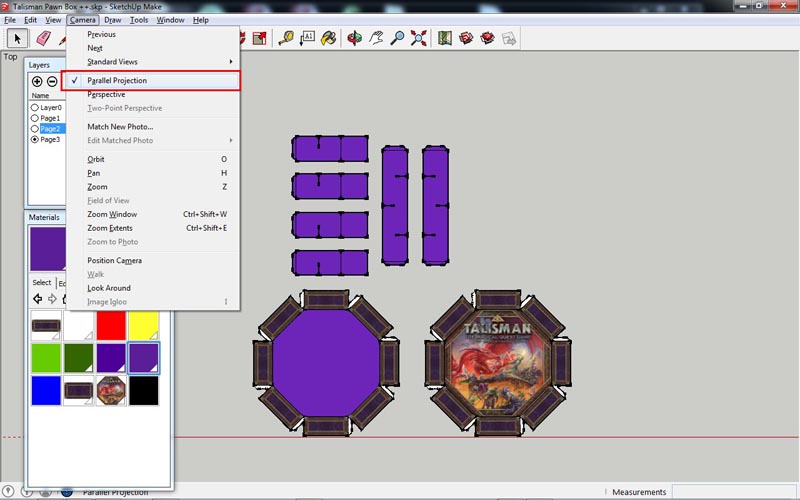
Using the links below, you can download the necessary files to make the boxes from his DropBox folder, and pick up a free copy of the software too.
If you need a little help with printing from the files, Denis has made a little guide to help out. The files were made to print on A4-sized paper, but you should be able to fit the designs onto other sizes as required.
 |
|||
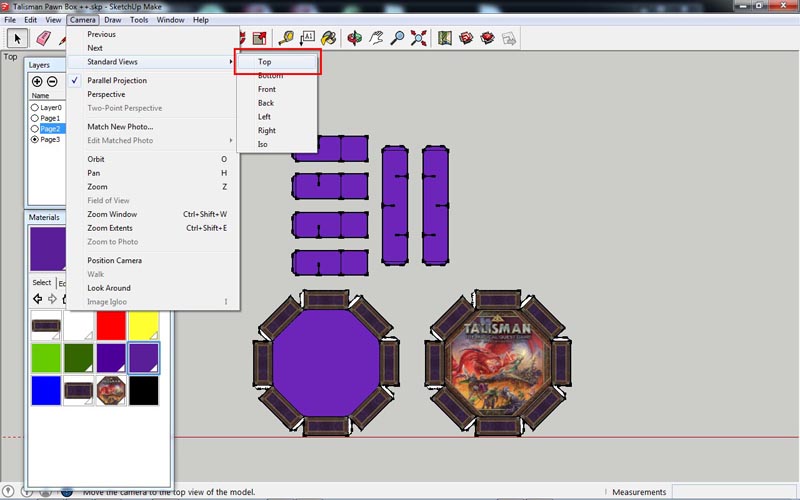
| In SketchUp, go to Camera, and then select Parallel Projection. | |||
 |
|||
| Under Camera > Standard Views, select Top. | |||
 |
|||
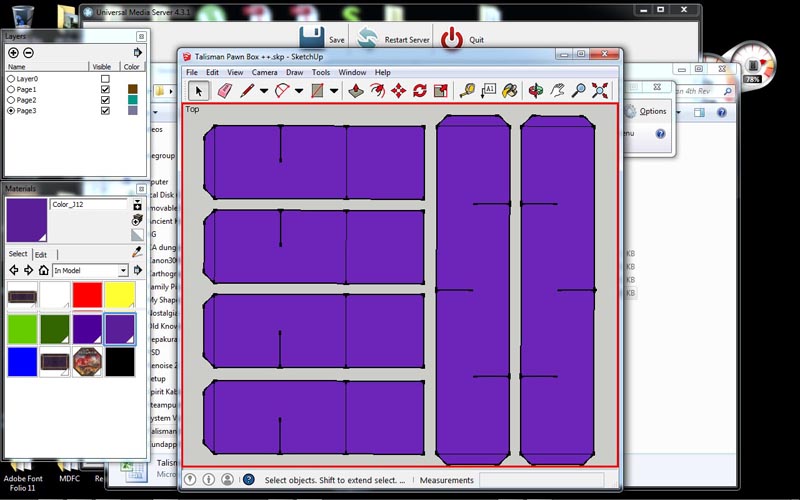
| Adjust the SketchUp window to give a minimal border. | |||
 |
|||
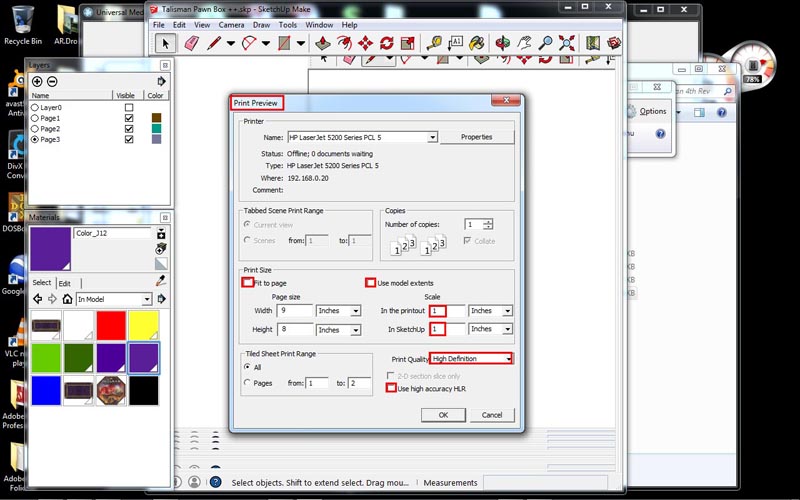
| Under File, select Print Preview, then Uncheck Fit to page, Use model extents and Use High Accuracy HLR. Next Ensure Scales are set to 1 and 1 and you may choose High Definition print quality from here. |
|||
 |
|||
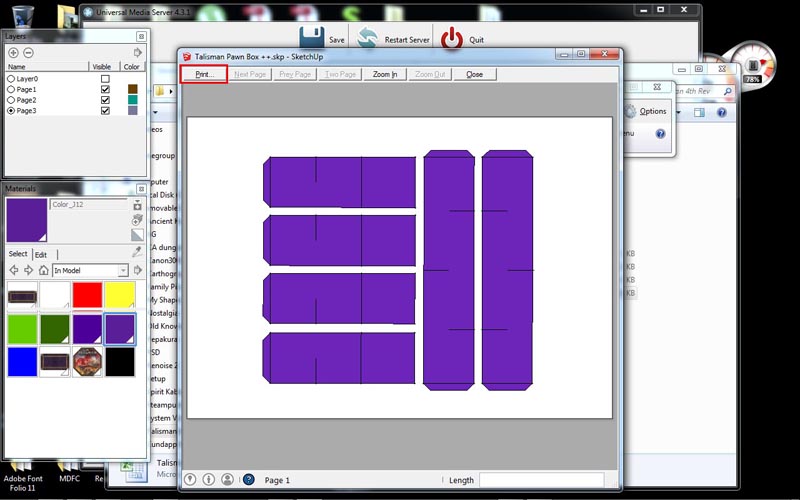
| If the Print Preview is on a single page (if not, adjust the border until it does), you can then press Print. |
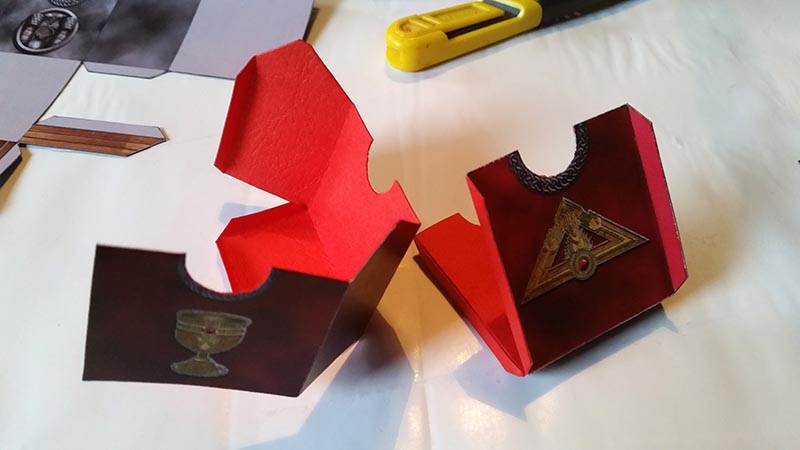
Assembling the boxes seems quite straightforward, but a fair amount of work (and ink!) is involved, so it would be better to cast your eye over the steps shown here.
As with most projects, it is best to work in plenty of space and to reduce distractions, otherwise you might find yourself cursing a little!
 |
|||
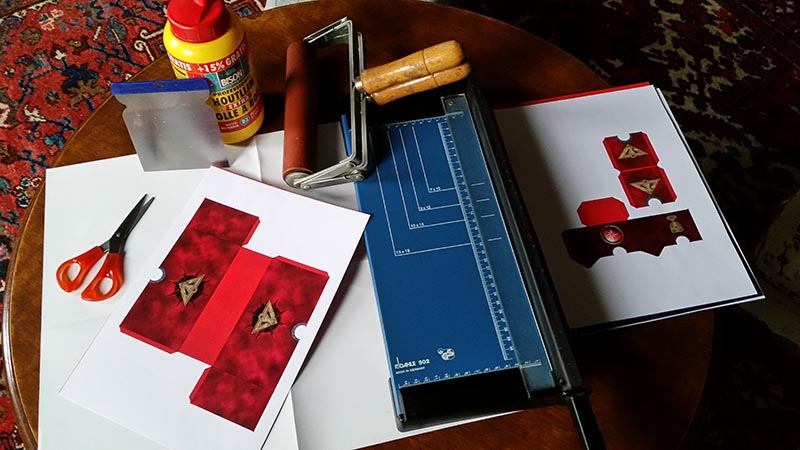
| Materials needed: Scissors, Glue, Spreader, Heavy Books or Roller and Patience, Perseverance and Motivation! | |||
 |
|||
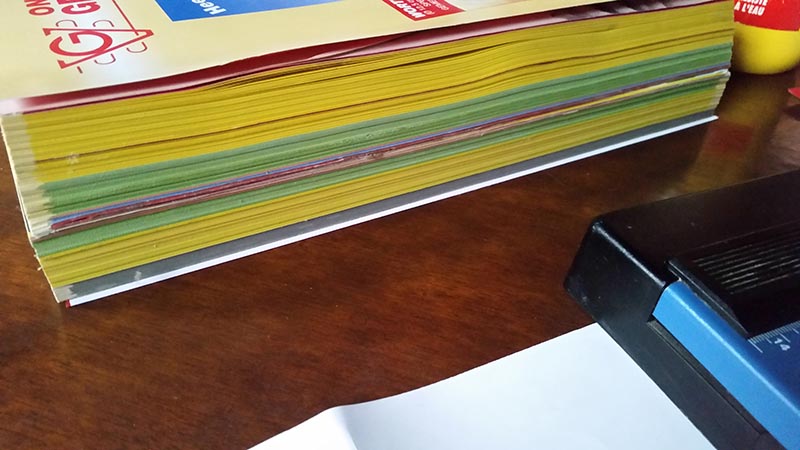
| Print on normal paper, and choose some coloured cardboard to match the inside of the box. | |||
 |
|||
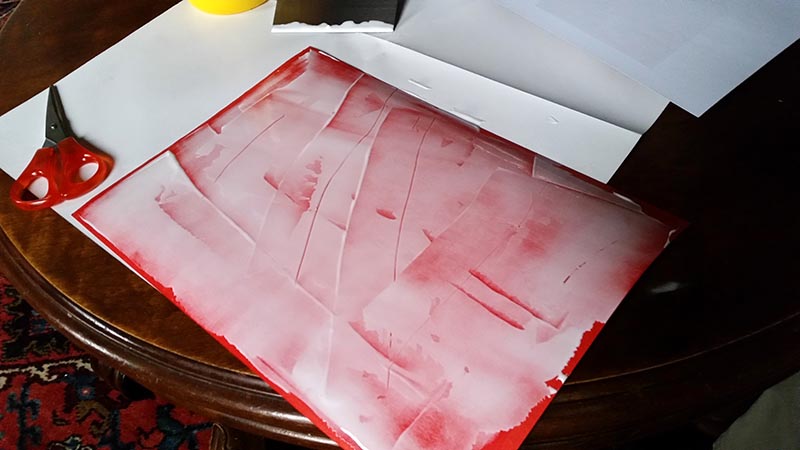
| Apply glue to the cardboard, spreading as evenly as possible. | |||
 |
|||
| Place the printed paper on the cardboard and roll as flat as possible. | |||
 |
|||
| Once glued, place between phone books (great for removing moisture!) and leave for at least 24 hours. | |||
 |
|||
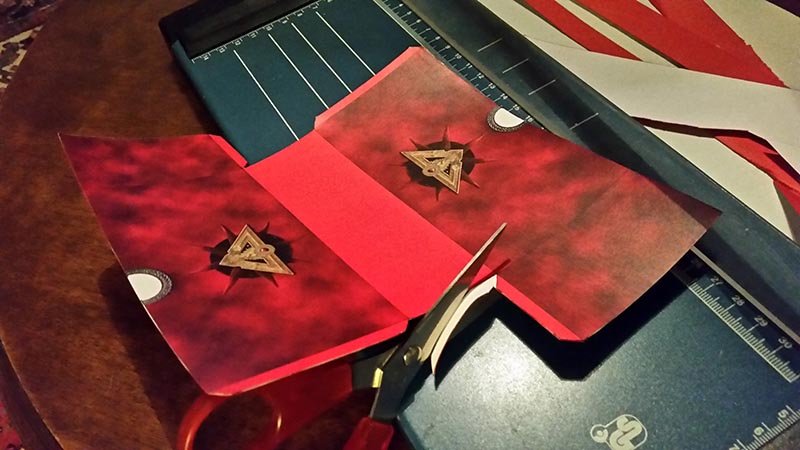
| Now, carefully cut everything out… | |||
 |
|||
| …there is a lot of cutting to do! | |||
 |
|||
| Score the opposite side of folds with a craft knife, then fold using a ruler. | |||
 |
|||
| Now glue all of the bits together using the tabs. | |||
 |
|||
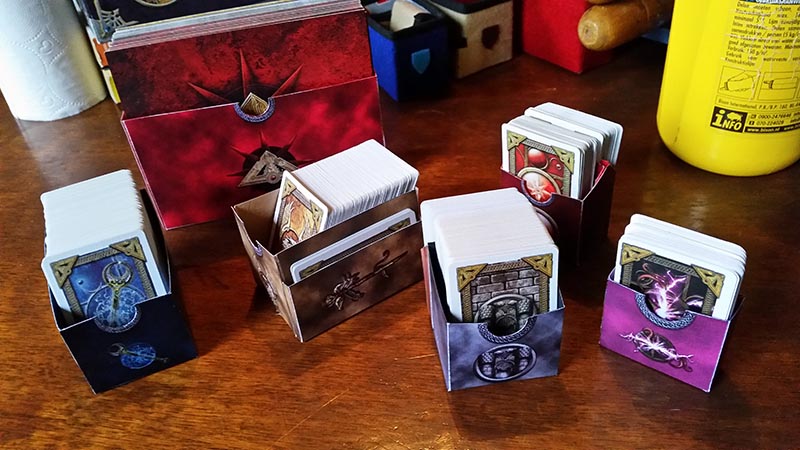
| With a bit of luck, you should end up with something like this! | |||
 |
|||
| Here’s everything completed so far (excluding Woodland). | |||
 |
|||
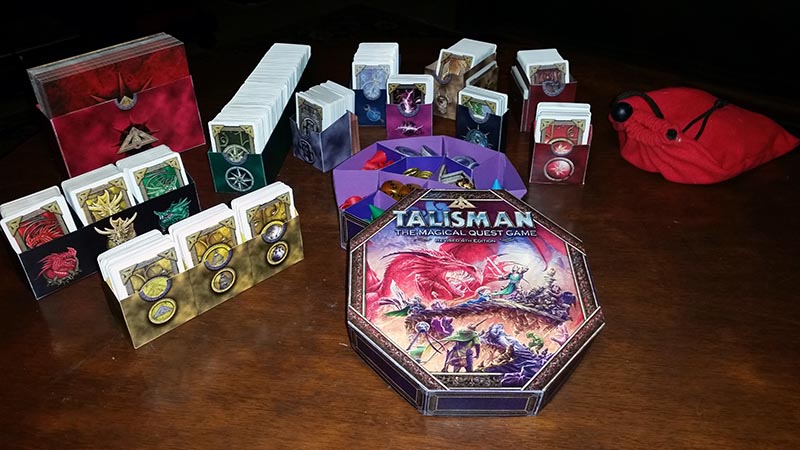
| Just to show that it will all fit into the footprint of the Talisman box, though the lid will be a little taller. |
Update: Denis has been working on some updated files with some embellishments that you can find at the following link –
So, make your choice and get making! 🙂
You can adjust the files to your heart’s content, but if you do please make sure you give credit where credit is due to Denis.
 |
 |
||
| v2 Adventure Cards | v2 Character Cards |